




























Neil Fletcher Racing
The story of EIJ 5885
My New Project Mexico - Year 5
or go to Year 1, Year 2 or Year 3&4
Go to My Escorts Index
Click on any of the images below for a larger photo.
| Year 5 of the rebuild starts off in November 2011 but it is really late December before there is any real effort to get some work done. | |
|
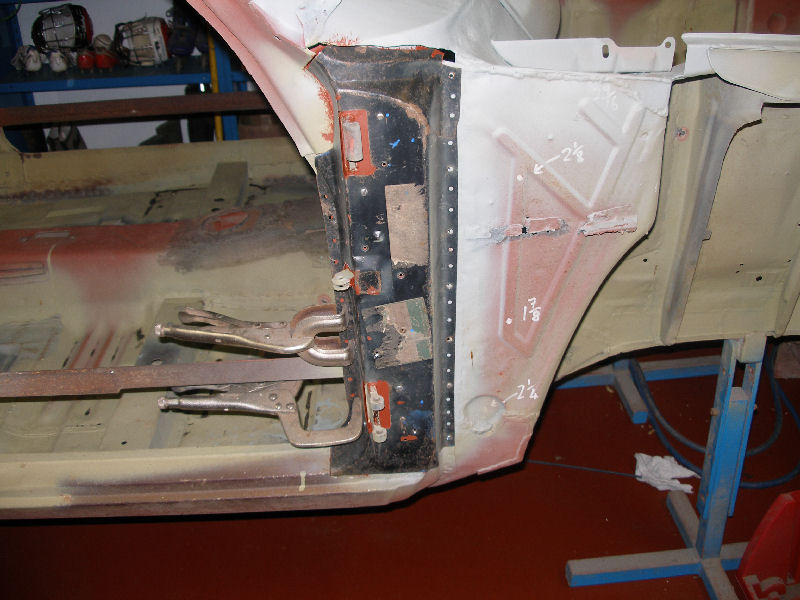
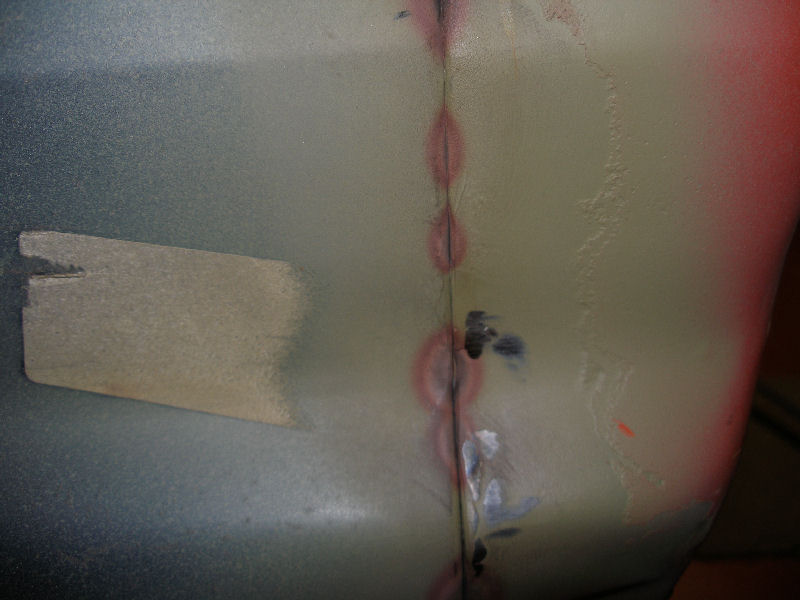
Now that I've restarted the rebuild one of the first jobs I do is fit the driver's door post - during the layoff the inner post along with a few other areas of the shell had been blasted and primed. |
|
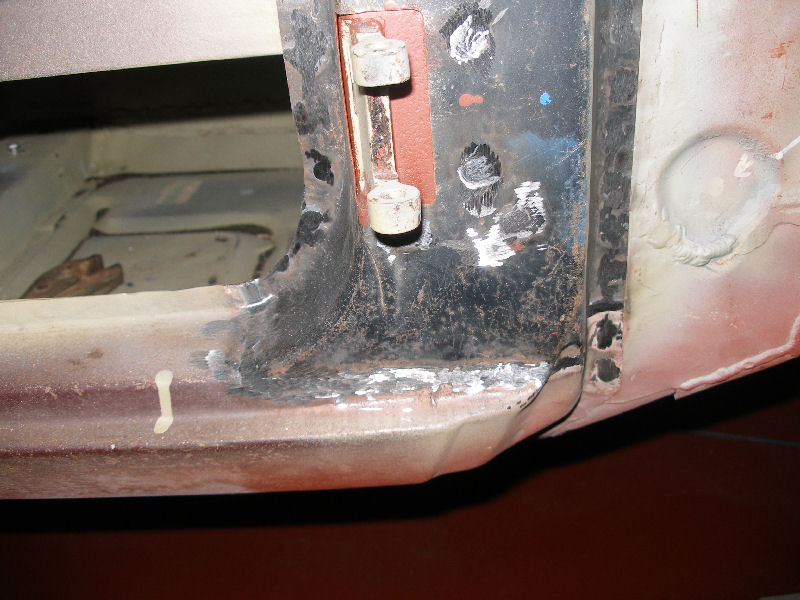
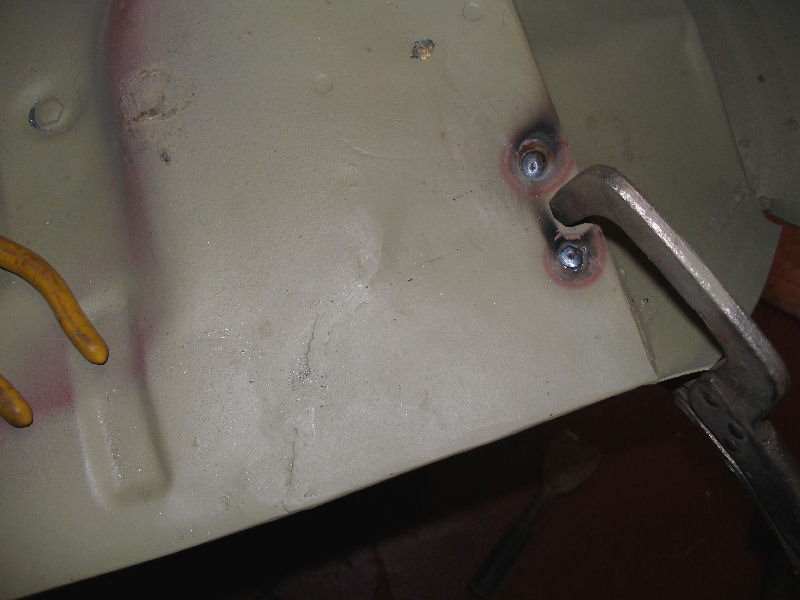
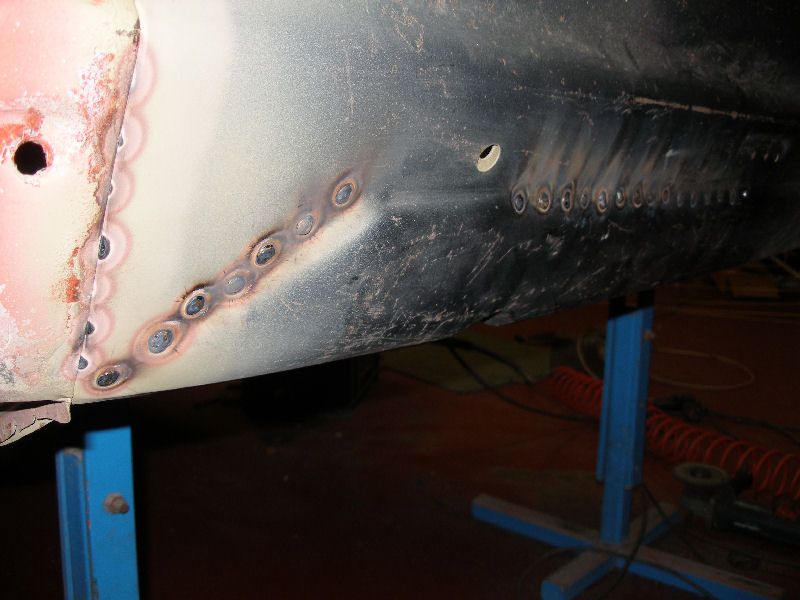
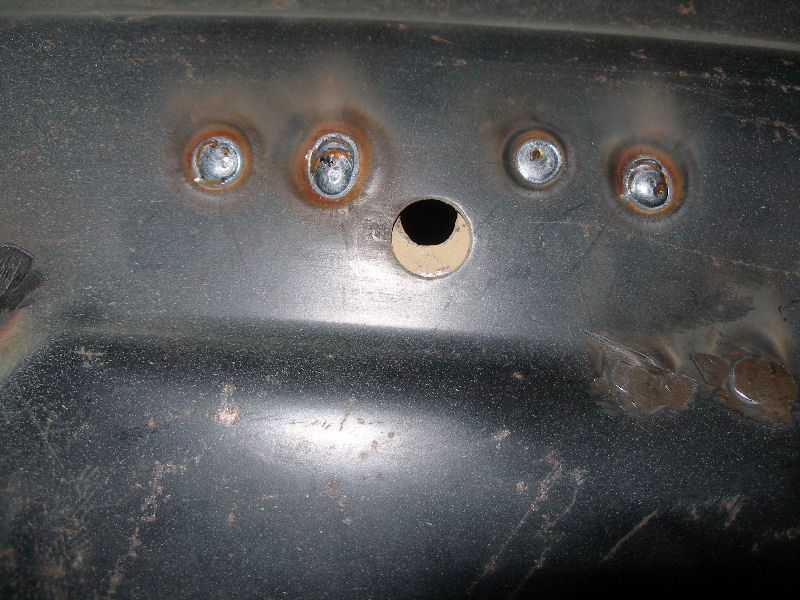
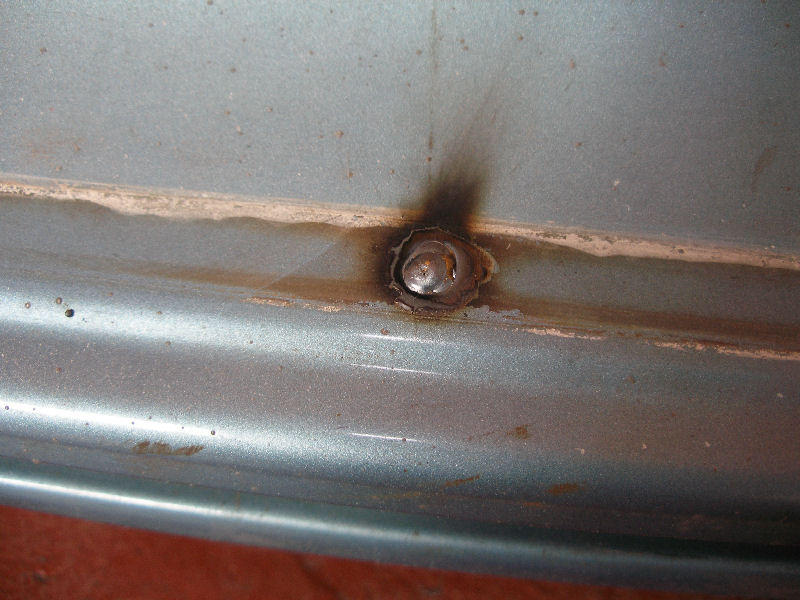
A closer look shows the holes I have punched for welding as well as the holes made previously for screws to hold it all in place while welding - as each screw is removed these holes will be enlarged then plug welded. |
|
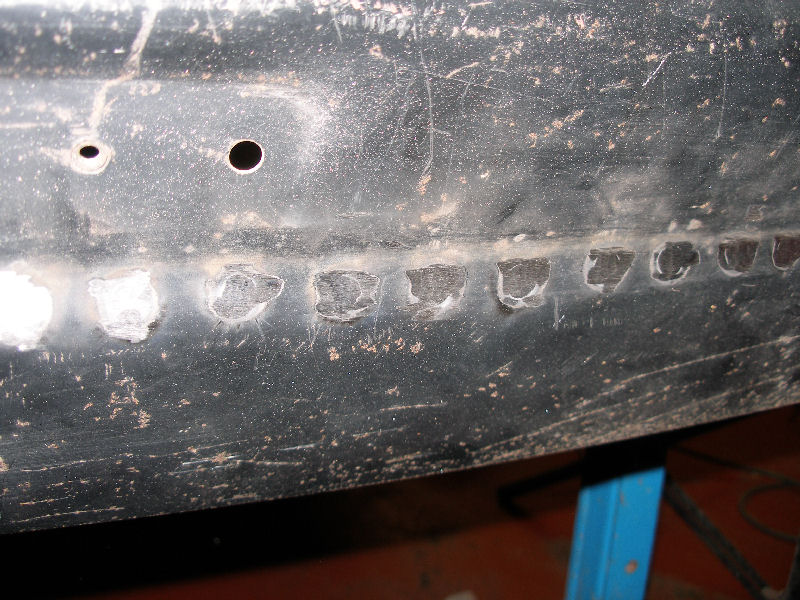
Here you can see some of the welds, others have already been ground down flush. |
|
At last it's getting there, I'll soon be able to remove that metal frame inside the shell which was keeping the door gaps etc all correctly placed. |
|
Sometime later in the year I'll be taking the shell back round to my mother's farm to blast all these welded areas, then I can finally smooth off any of the welds which are still sitting proud. |
|
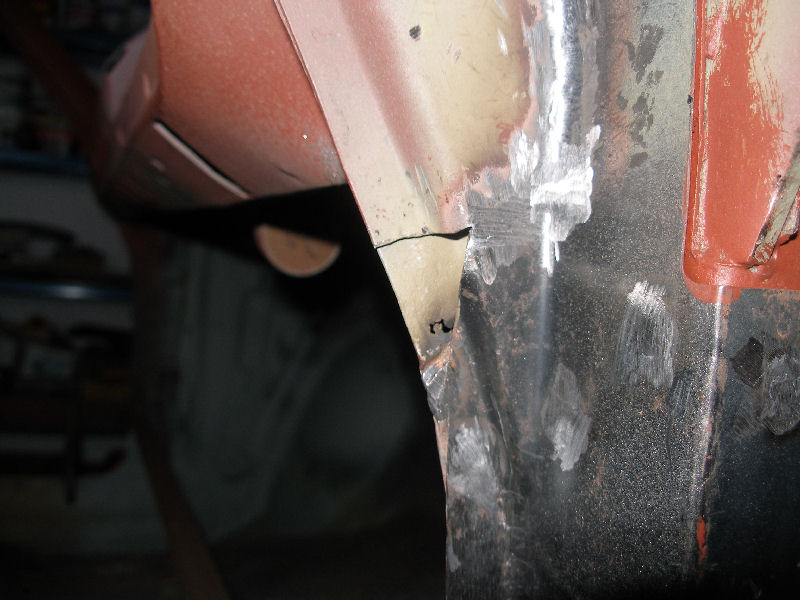
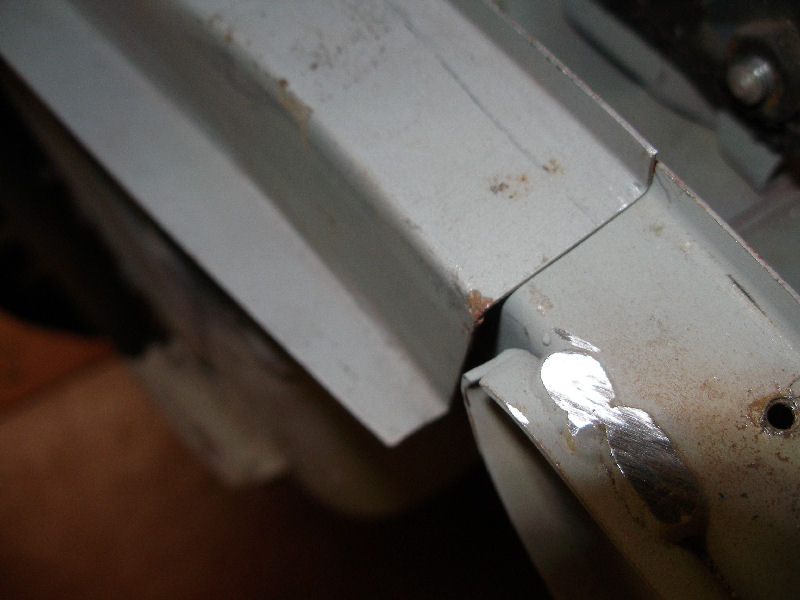
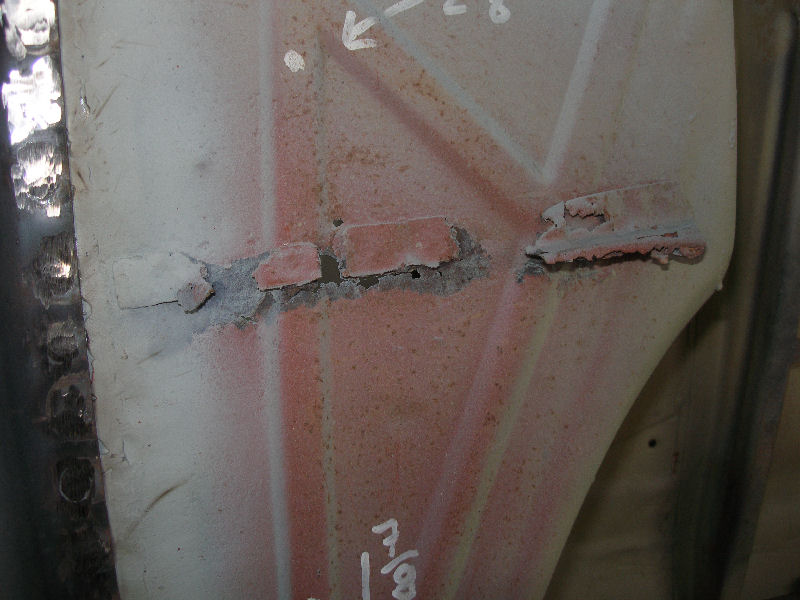
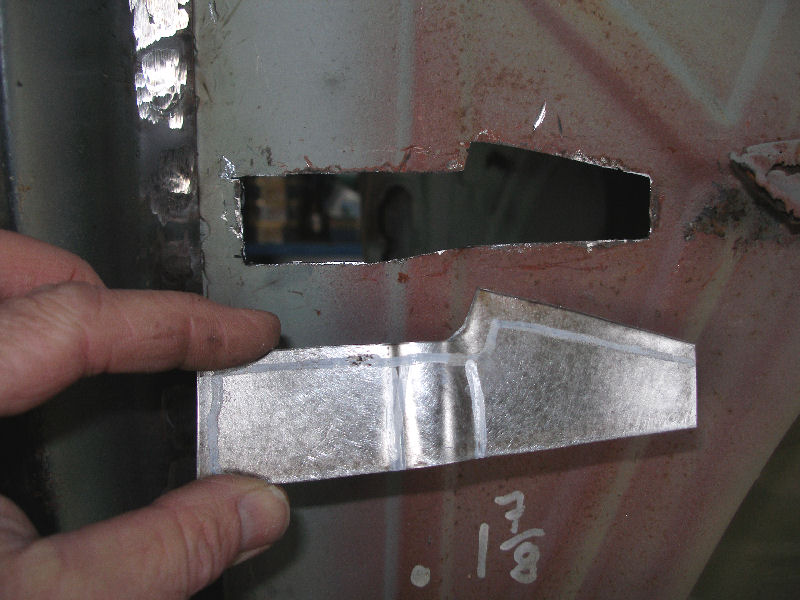
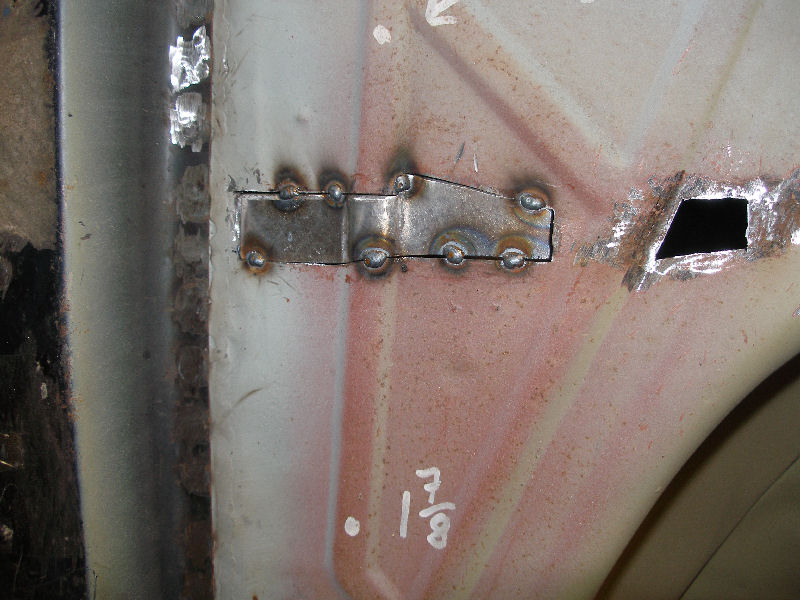
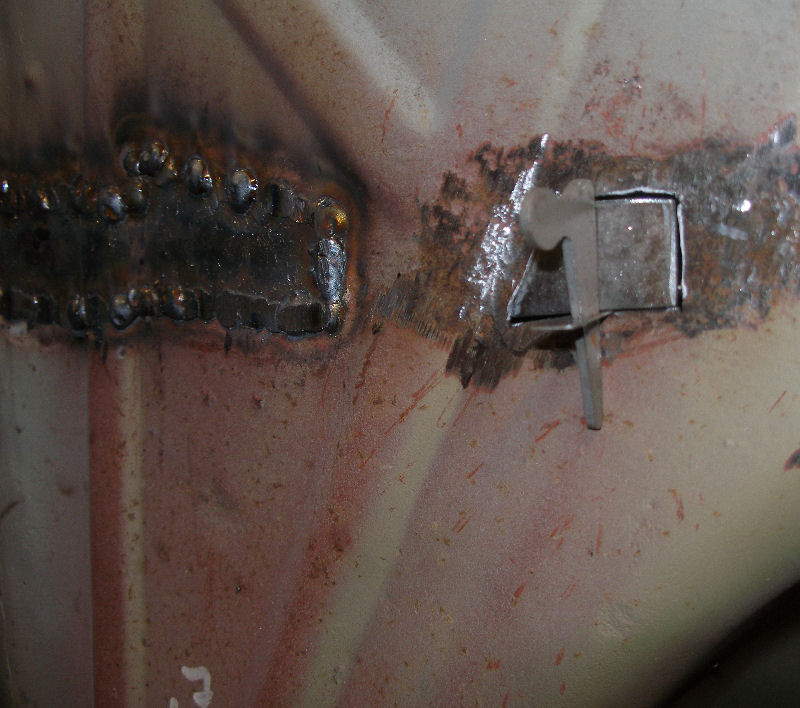
One area of the door post needs a tiny patch let into it, the repair panel didn't quite cover all the original rusty area - a common problem with some of these repair pieces. |
|
A little work is required to get the repair piece to match the double bend in this area of the post. |
|
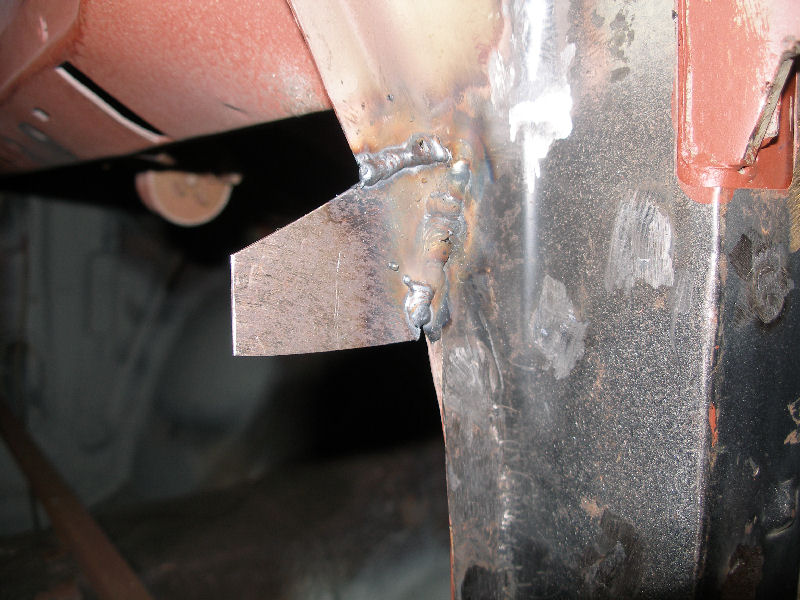
It's cut a bit on the large side to give me something to hold onto while I tack and weld it in place. |
|
Then it's only a matter of cutting off the excess and grinding the welds down to make a good job. |
|
Now it's back to the boot floor, and first job is to do a couple of plugs welds that I'd previously missed, this is another area that was blasted and primed over the layoff. |
|
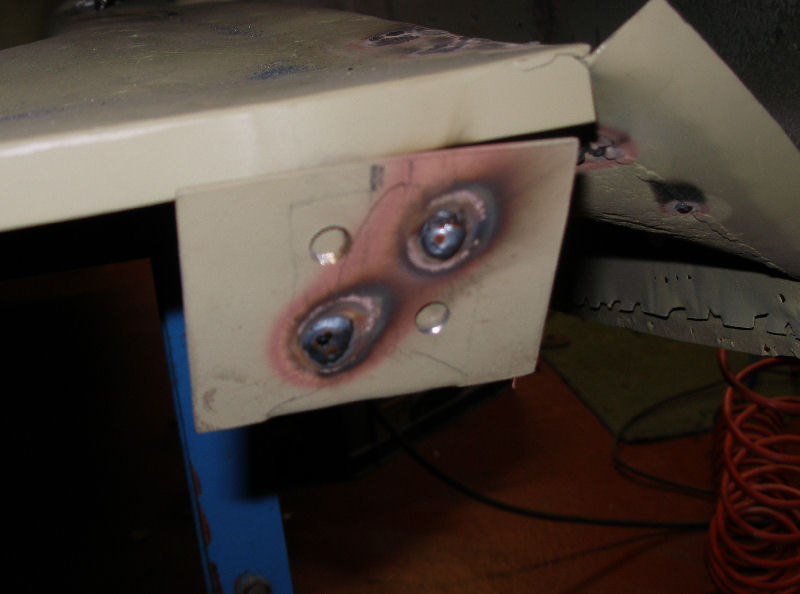
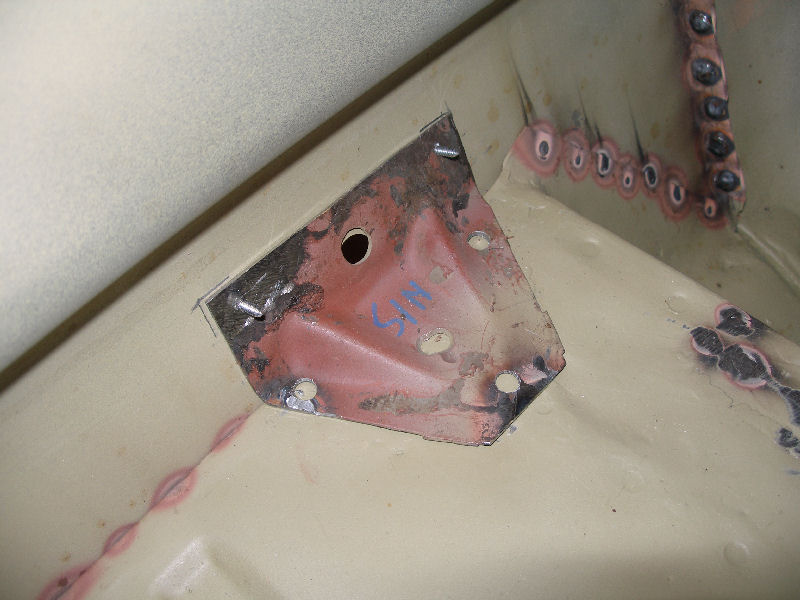
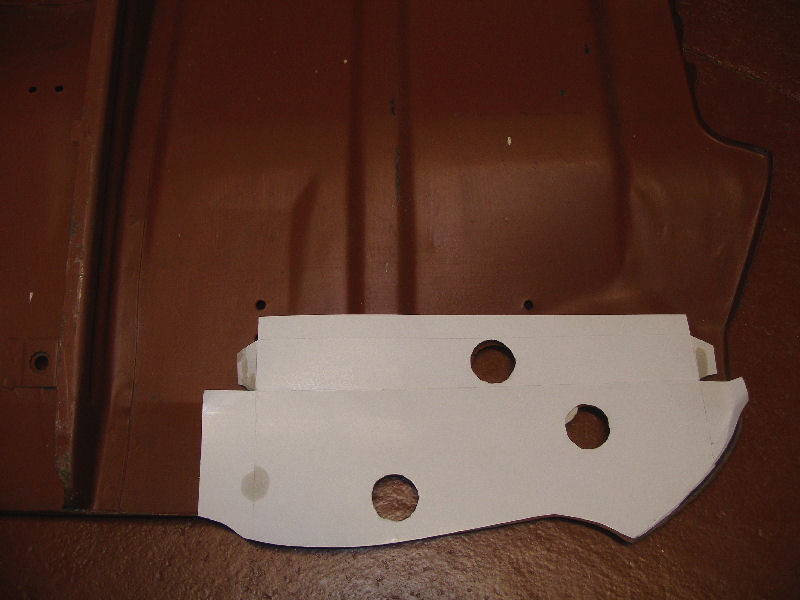
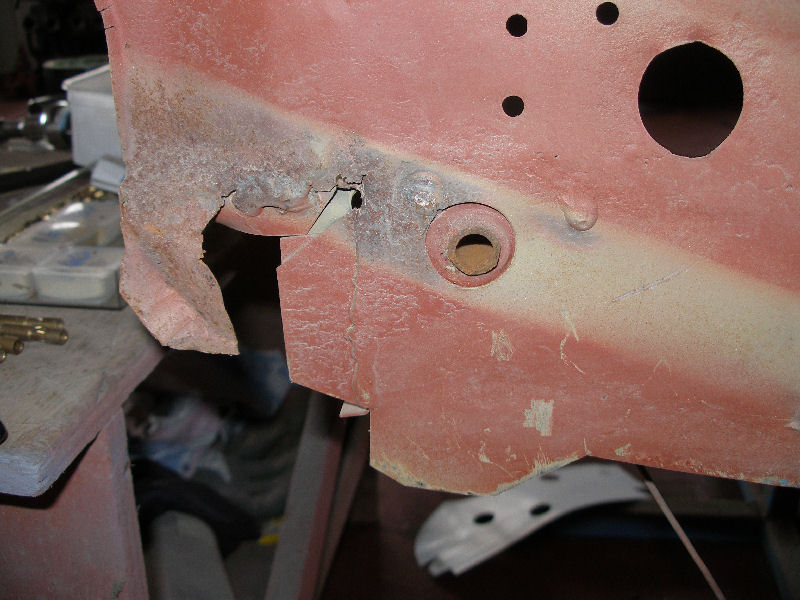
When I removed the back panel I had discovered that the little plates on the end of both chassis rails were completely rotten so I had made up a couple of replacements. |
|
I soon had a few holes drilled in them and had them welded in place. |
|
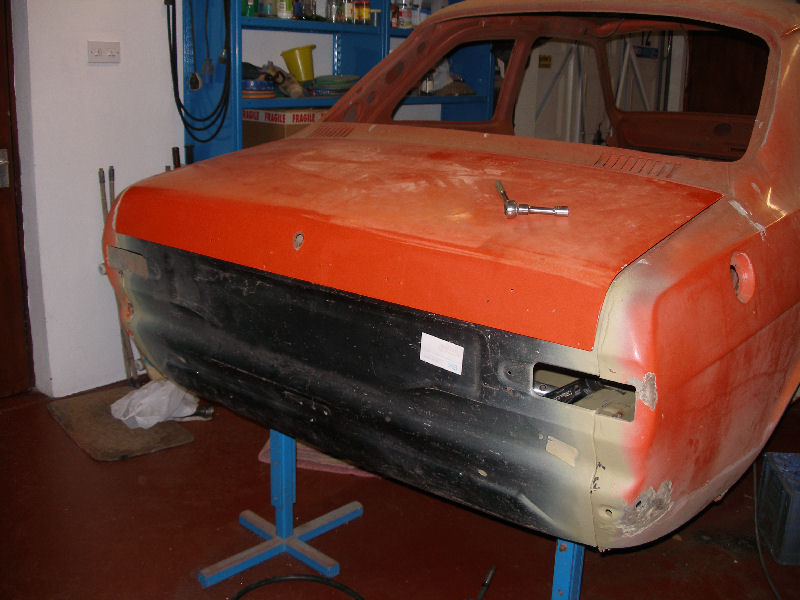
Now I can go ahead and offer up the back panel, it's almost a full year since it had been last offered up. |
|
Even if I do say so myself I'm getting a much better fit than the old one that I'd taken off so long ago - even if it still needs lowered just a little to line up properly. |
|
I also fit the boot lid to see how it'll all line up, I think this is the first time since I got the car in 2007 that it has been fitted to the car. |
|
Once I'm happy with the fit of it all I can start and do some welding, I start with a couple of tacks round the taillight holes, these will eventually be hidden by the taillights. |
|
Then I continue and plug weld holes that I had already punched in the two inner flanges. |
|
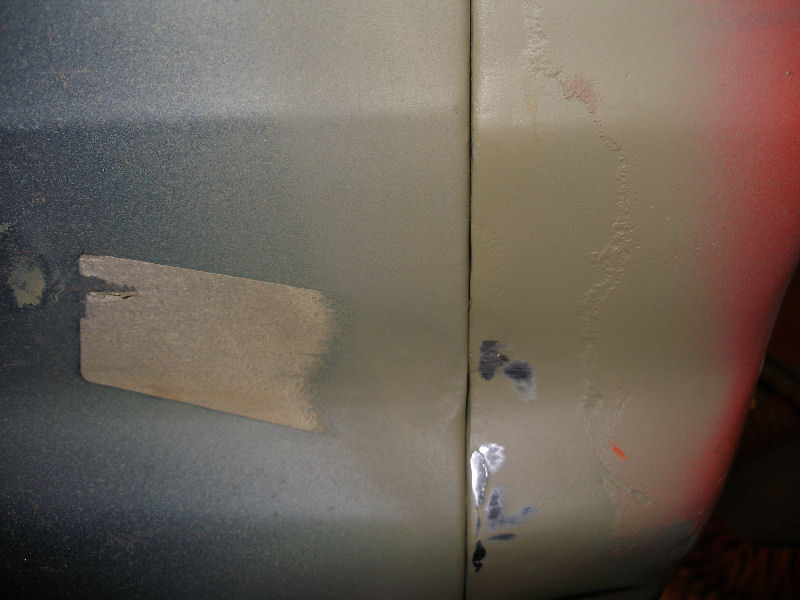
I continually check that I still have a nice fit down the outer join. |
|
Then starting in the middle and working towards each side I plug weld the back panel to the boot floor along that new lip that I'd put on a year previously. |
|
Finally I get it all done right down into the lower corner of each rear well - now to start grinding down welds. |
|
Then I grind down all the welds along the whole back panel. |
|
Next job is to fit the two brackets between boot floor and back panel. A corner of this one had been cut away when the back panel had been previously replaced many years ago so I welded up the corner. |
|
Then ground down the excess weld and reshaped the offending corner to make it as good as new. |
|
I then locate it inside the boot and hold it in place using a couple of screws through the back panel. |
|
The hole in the back panel doesn't quite line up with the one in the bracket but I'll open up the hole if need be and it'll be hidden behind the bumper bracket. |
|
I then weld the bracket in place by welding through the holes I had originally drilled in the back panel. |
|
Then I weld the bracket to the boot floor by welding up the holes where the original spot welds had been ground out. |
|
Next up I remove the two screws, open out the holes a lit bit and then fill then in again with plug welds. |
|
Finally a few runs of weld around the centre brace and the back panel is sorted and I must admit that I was well pleased with the finished job. |
| January 2012 and I've moved back to the front of the car, I'm finishing off various little bits around the inner wings and doing some trial fitting of wings and doors. | |
|
This is an issue I've seen before, some of the little flitch plates don't line up properly with the turret sides, I've discovered the problem lies with the shape of the Hadrian style turret sides. |
|
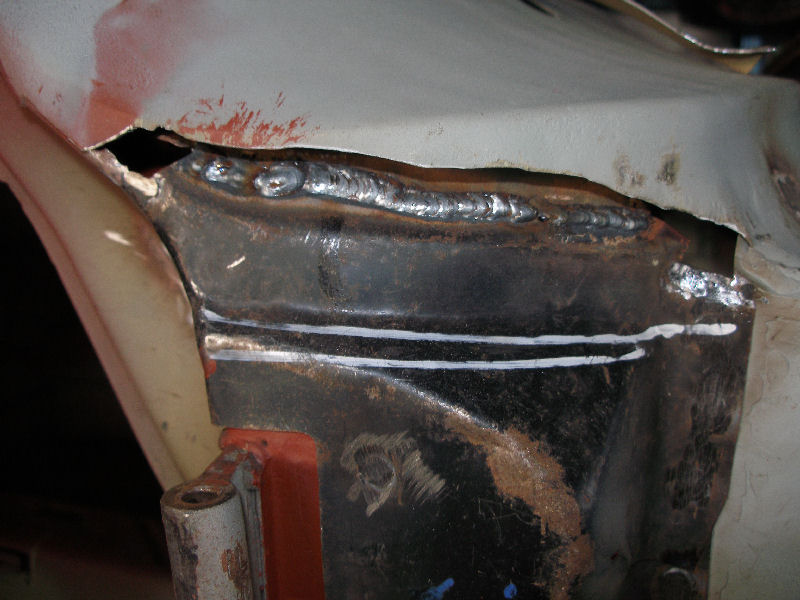
The only real cure is to take the air hacksaw and cut down both sides of the flitch plate and modify it to suit the turret sides. |
|
The inner side gets a piece cut out of it while the outer side gets spread/opened out, then with them held in position I'll ad a couple of small tacks. |
|
Then after getting tacked I weld a longer run then they are checked in position again and I can hammer them tightly into position with a cold chisel. |
|
This will make them a good tight fit, once I'm happy with the fit I then weld them up completely before grinding off the excess weld. |
|
Sometimes when grinding off excess welds I discover the odd little bit that has been missed so I weld these areas up again. |
|
Next up I'm moving on to sorting out doors and wings etc, I try this old door but decide that it's really only suitable for use on the rally car or some such like. |
|
I do have a couple of very good doors and bonnet that came off a Mk2 Van but one problem with these is the fact that both door hinges are the same. |
|
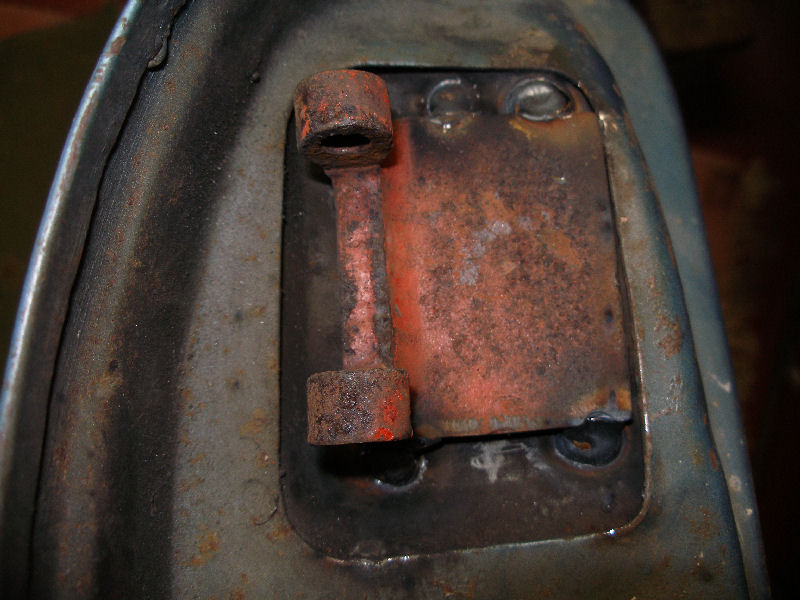
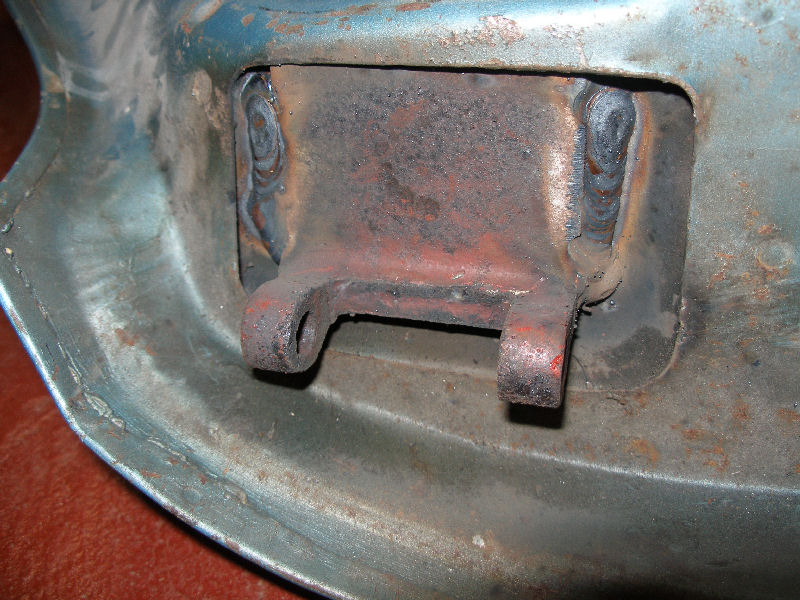
As you can see the top one on the door is a "male" but it needs to be a "female" to mate with the male on the shell. |
|
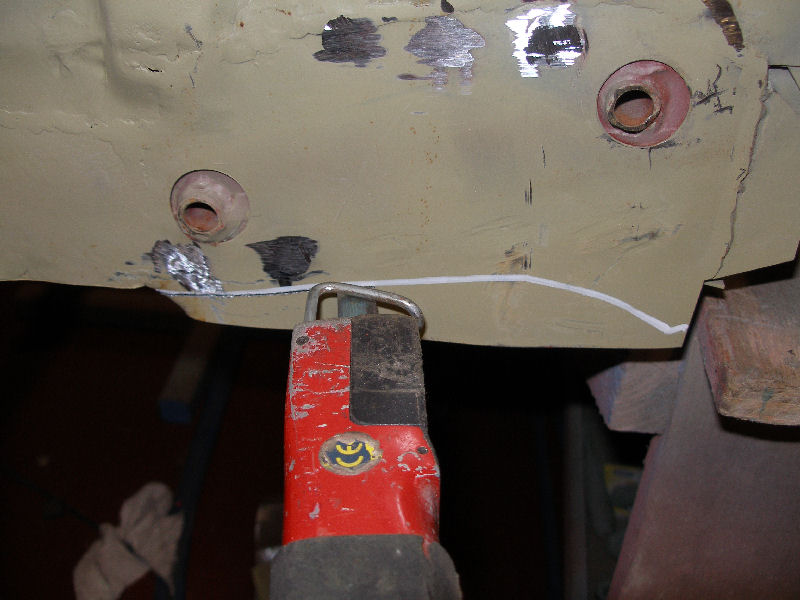
First job is to cut off this top hinge, one of the easier and best ways that I've found is to take a carbide burr and grind out the weld. |
|
It's not long before the welds are almost completely cut through and a sharp crack or two with a heavy hammer soon has the hinge coming free. |
|
Then it's just a matter of cleaning up what remains of the welds so that the replacement hinge which is wider can sit down properly into place. |
|
This is an old top hinge that I cut off a scrap door many years ago - when scrapping old doors etc I always cut off any of the bits which may be useful. Never throw anything away. |
|
At this stage I also want to offer up a wing as well as the door to see how they all line up - this is a wing I'd cleaned up some time ago, I got this wing from Mexicomark a couple of years ago. |
|
I think it came from the shell that Rallyman72, Richard Elms bought off him. Anyway the wing mounting lip had been cut off it so at this stage I tacked on a strip of metal, I'll weld it up fully later. |
|
This allows me to temporarily fit the bonnet, wing and door to see how they will all line up together, luckily they only need very slight adjustment to make them a relatively good fit. |
|
Once I happy with the fit of the door in particular I remove the wing and then put two small tacks on the outer corners of that upper hinge, unfortunately even with these two tacks it can still move about a little. |
|
So I take the door off again and add a couple more tacks to the other corners, this leaves it a lot firmer. I then refit the door, wing and all again to check that they still line up perfectly. |
|
Once that's all done and I happy I take the door off again and put a couple of good proper runs of weld along the door hinge. |
|
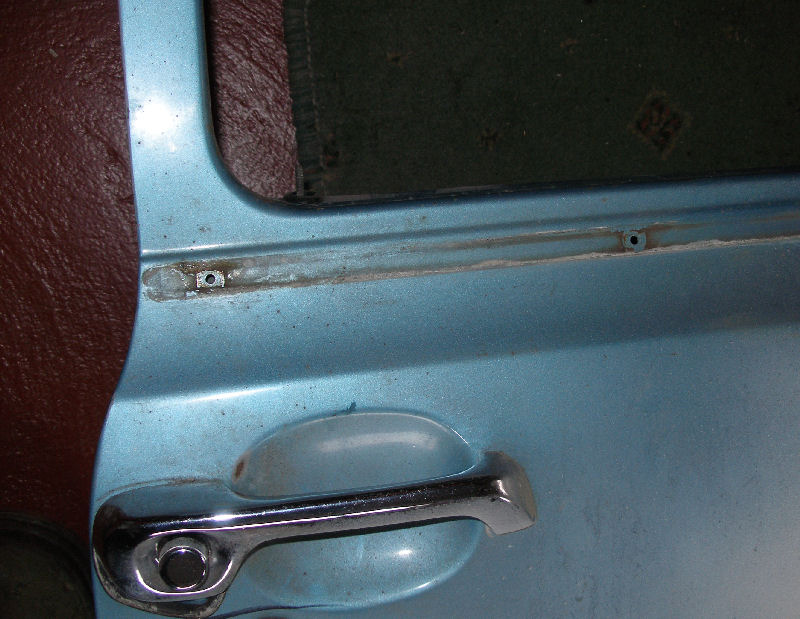
This door originally had chrome trim fitted around the window. |
|
This meant that there were a few trim mounting holes that needed to be filled up, I've seen a few people fill these holes with Isopon type fillers. |
|
Unfortunately the fillers can come loose or drop out over time so I'm going to weld these holes up, I clean a little of the paint and rust from around the hole. |
|
This cleaning off of paint allows the small quick weld to take better as I fill each hole with a small plug of weld. |
|
I then grind the weld down roughly with the grinder. |
|
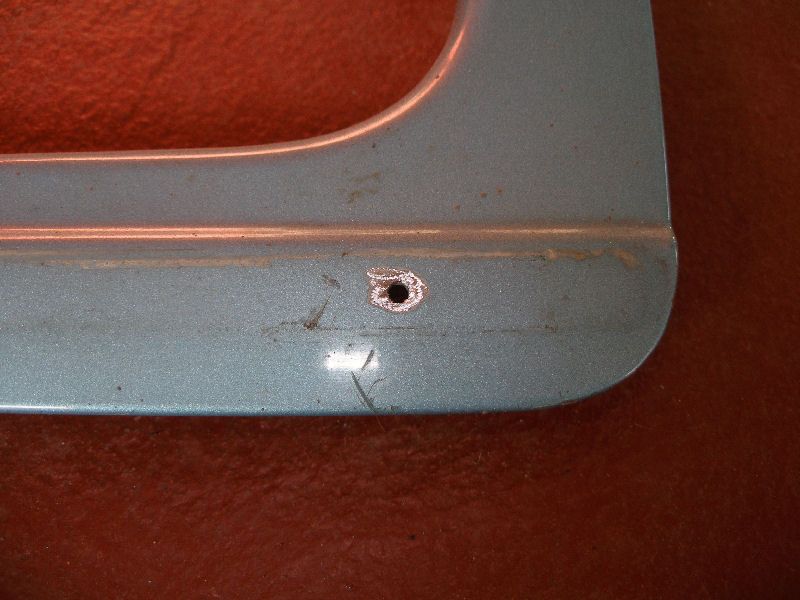
Finally I give each weld a going over with the DA sander and now it's almost impossible to tell that there was ever any holes in the door. |
|
|
|
|
|
|
|
|
|
|
|
|
|
|
|
|
|
|
|
|
|
|
|
|
|
|
|
|
|
|
|
|
|
|
|
|
|
|
|
|
|
|
|
|
|
|
|
|
|
|
To see how it all started, go to Year 1 or for other details go to Year 2 or Year 3&4.
Go to My Escorts Index
Click on any of the links below to go to that section of the site.
[ Neil's Stuff ] [ My Escorts ] [ Rally Escorts ] [ Technical Stuff ] [ Escort Stuff ] [ AVO Day ] [ Havoc Articles ] [ Other Escorts ] [ Other Cars ]